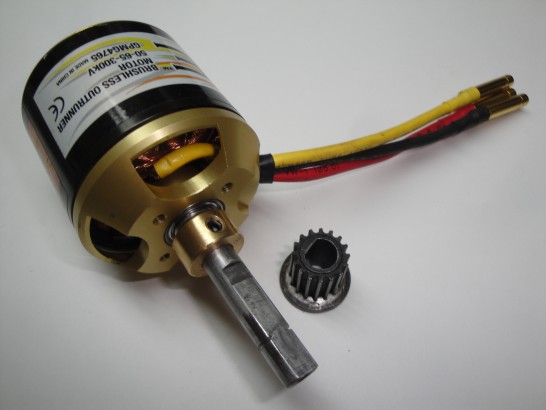
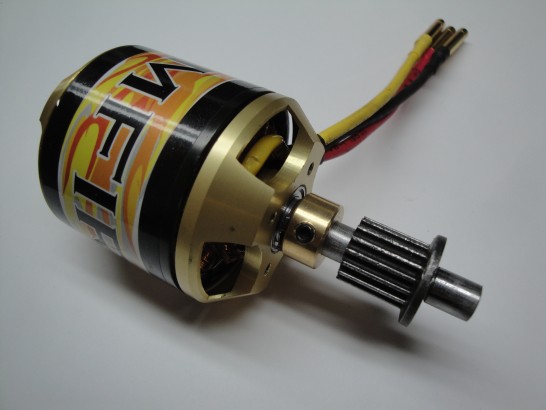
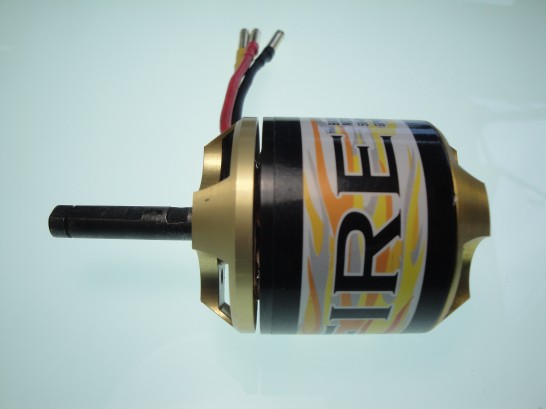
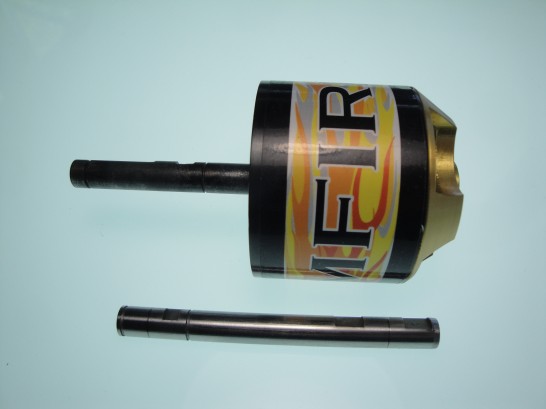
To make my scooter with my new motor, I needed to change the shaft of the new motor so I could insert the belt pullet on it. The real problem was that the original motor was to short. I needed to have a beffy bracket to hold the motor and at the same time have enough shaft length to hold on the belt pulley. With the original shaft I could only have one and not both. I then decided to machine a new shaft. It is really easy to change the shaft of a brushless motor. I said to myself, “If you make something, make it right the first time!“
I went to a great place in town call Métaux Gherbavaz to buy some 8mm rod. I took some tool making metal so I could temper it. The bearing inside the motor where 8mm, well, it was 7.96mm and I had the machine my new 8mm rod down just enough to make it fit in the bearing…
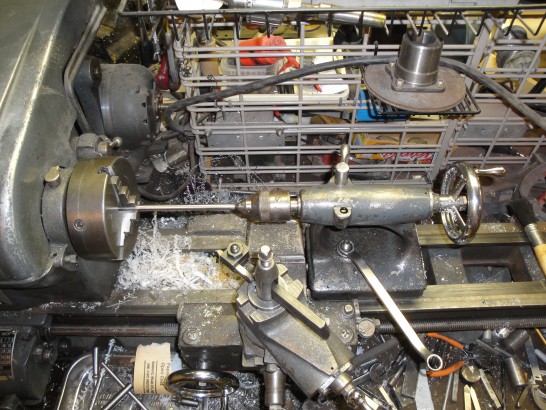
Istarted by fixing, the entire 24″ rod in the lathe. Only 4 to 5 inch was coming out the other end.
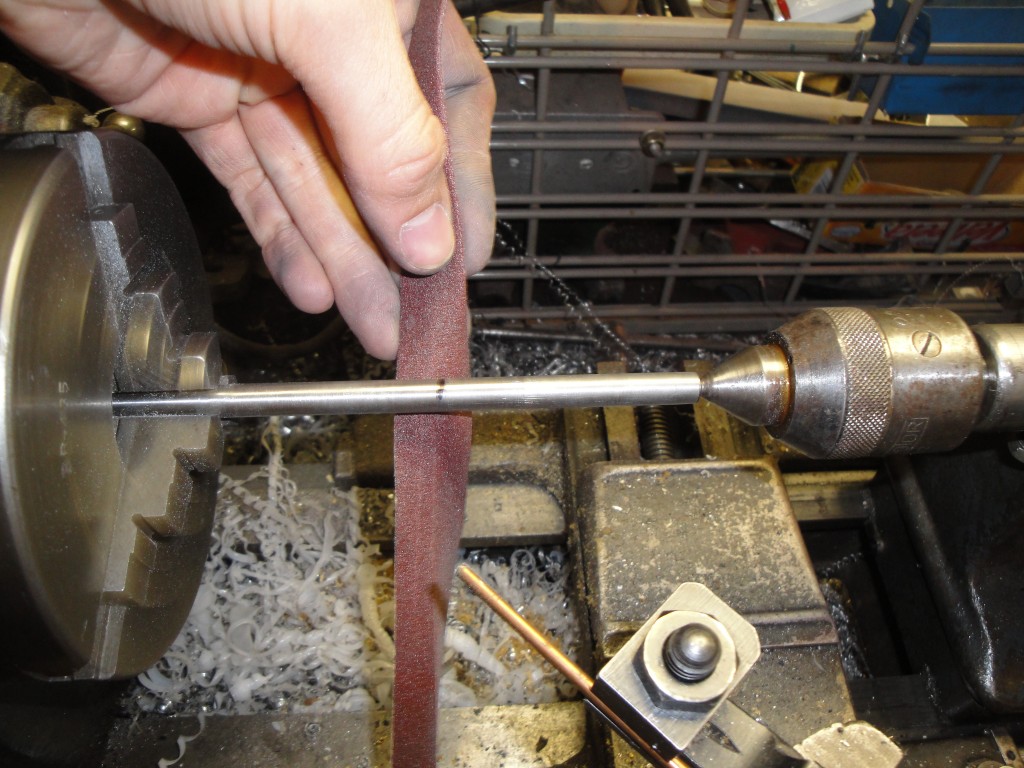
The first idea was to use sand paper to get it to the perfect bearing diameter. I started at the right end, sanded until the bearing could fit on the shaft. On this picture you can see a black marking , that was where the bearing stop moving, I also use the cooper rod in a angle at the bottom of the picture to tell me where the bearing was when it was stuck and could not more further on the shaft. Then I continued to sand the rod.
In conclusion it goes like this: Fit the bearing on the shaft until it does not move anymore, then sand until the bearing can move again towards the left.
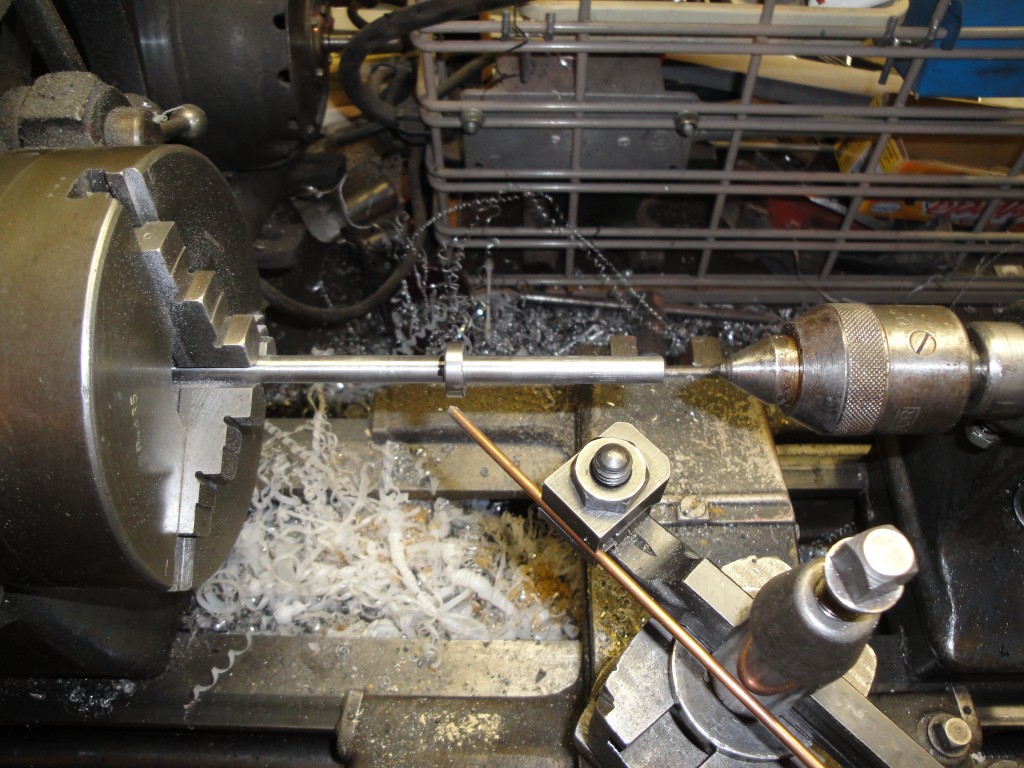
Here you can see the bearing and the angle cooper rod has the guide.
Checking with the original shaft where to make to groove for the C-clip.
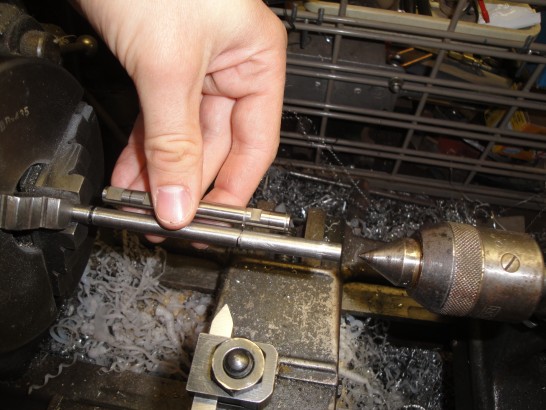
Making the C-clip groove was not hard has I expected. Simply go foward with a V cutter.
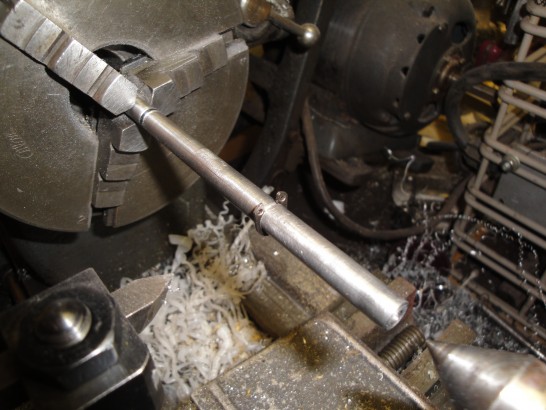
Making the D shape on the belt pulley.
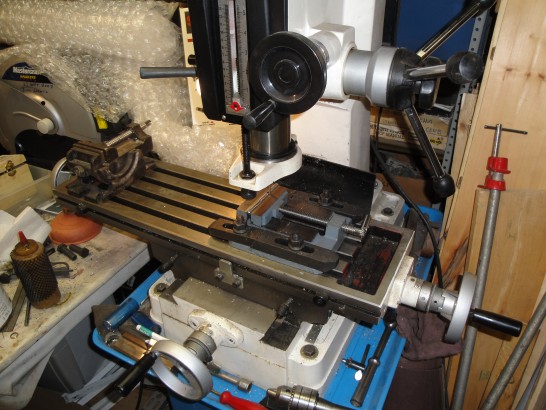
Using a fill to make sure the pulley fit perfectly…
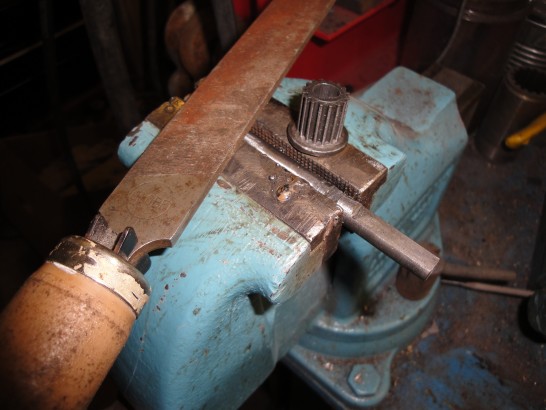
voila!
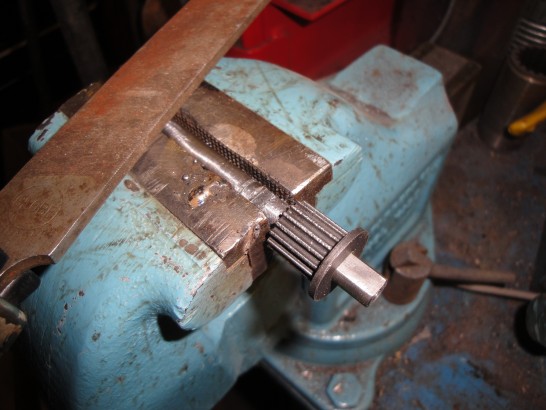
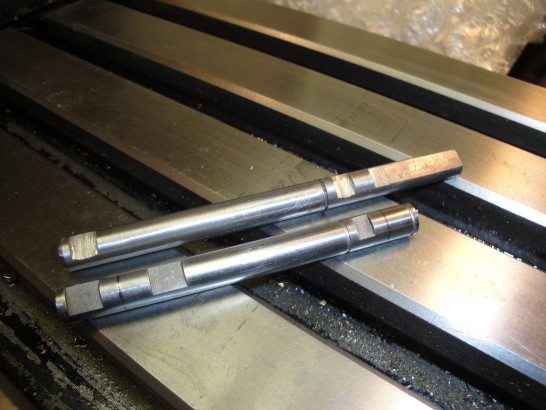
Comparing the original shaft with the new one.
These pictures was before the tempering, I wanted to see if everything fits perfectly before tempering.
You can clearlly see that I need to cut the tip of the shaft before tempering it.
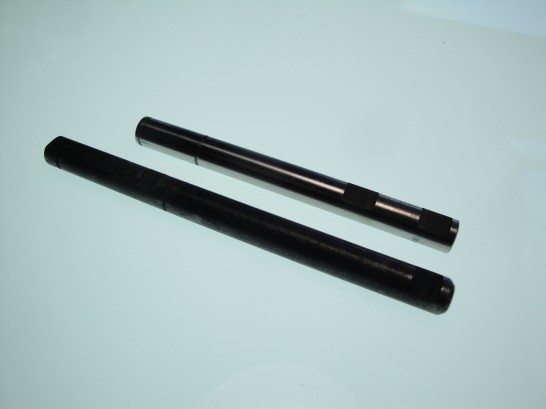
The shaft in this picture is tempered ( it was cut the perfect length ). It is really dark because I took picture on new light table and I don’t have engough top light.
The new and original shaft. The original is at the bottom of the picture.
Here is what you did not see. The first shaft Imade was perfect! I was only concern about the tiny slack with the bearing and the new 7.96mm shaft. I was concern, so I tried other way to machine the shaft down to 7.96mm. I use the cutter to cut away a thin layer of metal, but it end up with a rough surface. I then tried again sanding by hand on the patio taking my time. It started find the bearing was moving along the shaft but toward the end the bearing could slide WAY to easilly on the entire shaft. I when back to the original shaft.
I decide to temper the shaft because I thought it was cool! Tempering metal is a ART! ok! There is tons of way to temper and plenty of ways you can temper it. I ask a my friend David a mechanical engineer and a my other friend Pat, who took blacksmith course to make knifes. It is very complex art and pretty interesting. David told me that you can buy special sort of wax crayon that melt only at a specific temperature, so you heat up your metal until the tip of the crayon melts, then you know that your are stage 1 and you start to temper it by dropping it into water or oil, you then let it sit. After that you start over with stage 2 and you use a other wax crayon with a other heat threshold. That is only one way, he explain many other cool ways!
I end up asking my dad to blowtorch it until it became cherry hot and ask him to drop it in water. We did not have a high power blowtorch at home, so my dad took it at work. He told me that the metal was a very nice cherry hot colour.
